19 January 2023
Snapseed vs. Lightroom
In the world of photography, editing makes an image come to life. It allows you to enhance your shots and get creative. If you’ve been watching a bunch of photo-editing tutorials, you've likely come across some Snapseed and Lightroom how-to’s.
Although they’re alike, some key differences that may affect your choice. Thus, we’ve created a thought-out comparison below.
Snapseed Overview
Nik Software released Snapseed for the iPad in 2011. Google bought them one year later. Then they branched out to Android and iPhone devices. Snapseed is a favored photo editing application with over 100 million downloads. You can download the software for free on the Google Play and Apple Store.
Adobe Lightroom Overview
Lightroom was first introduced by Adobe as an extension of ‘Photoshop.’ After being made into an individual interface in 2007, it’s rapidly growing with plenty of tools and features being added. Now the app is available for PC, Mac, IOS, and Android on a monthly subscription basis. The highly sought-after software sits at over 100 million downloads.
Snapseed and Lightroom Comparison
The two platforms are trusted and respected, but understanding the difference is important when deciding which software is best. You’ll see their strengths and weaknesses below.
| Snapseed | Lightroom | |
| Platforms | Mobile | Mobile and Desktop |
| Best For | Social Media/On-the-go | Professional Photography, Print |
| Price | Free | $9.99/monthly or the Photography Plan with Lightroom Classic and Photoshop |
| Discount | None | 7-Day Free Trial |
| Output | JPG | JPEG, PNG, TIFF, WebP, PPM, PFM, EXR |
| Interface | Snapseed has the slightest UI, so beginners can use it with ease | Lightroom’s UI is less interactive, and newbies may find it more difficult opposed to Snapseed |
| Tutorials | Over 20 videos guiding you through each filter and tool | Many tutorials are available on the main website, and they also regularly update it with new guides |
| Support | Google Support form | Phone or Submit a ticket |
Interface
Snapseed and Lightroom's interfaces are opposites. You can find the tools in the Tools tab, whereas, in the Styles tab, you’ll see some filters to use instantly. At the top, some options to redo and undo your changes are available. If you click the ellipsis, it’ll take you to tutorials and an option to change settings.
Unlike Snapseed’s interface, Adobe Lightroom's tools can be found at the bottom. At the top, you have delete, share, image information and others. In the photo-editing menu, holding down the picture shows the original, and the same goes for Snapseed.
As for the user experience, Snapseed’s intuitive UI surpasses Lightroom’s. It makes Snapseed a perfect choice for the beginner.
Photo Editing Analysis
Features
Snapseed
-
Ability to enhance shots using high-quality digital features
-
Tools Tone Image, which allows the user to modify visual elements
-
Offers 56 options split between styles, glamor glow effects, vintage effects, retrolux effects, noir effects and drama effects
-
The Healing Tool as a good pick for removing unnecessary objects from your image with a swipe.
Lightroom
-
Comes with profiles and presets instead—40-45 presets depending on the gadget you’re using and 45 filters
-
Edits raw image files without having to convert them to another format
-
Syncs all of your edits to your desktop, so you have the freedom to edit on-the-go
-
HSL tab where you have the option to separately edit each color in your photo.
Raw Images
When it comes down to handling raw images, Lightroom has the advantage here. They both have different processes when dealing with these images. For example, Snapseed doesn’t process highlights anywhere near as well as Lightroom. There are details lost when comparing photos processed in both software.
If you’re constantly dealing with raw images, Lightroom is the way to go. The quality difference is too significant with a raw image.
Photo Sharing Analysis
The two platforms have different ways of exporting and sharing photos. Thus, let’s have a look at how each of them does this.
Snapseed
Since Snapseed is ideal for social media and sharing, the process is simple and straightforward.
If you click export after your edit is complete, it’ll share to your desired platform, save your edited image to the photo library/camera roll, and duplicate the original one with the edit stack flattened in JPG format.
Lightroom
Lightroom is slightly more complex when it comes down to sharing. However, you have a lot more freedom with it. As we covered in the table, you can export and share your photos with a variety of outputs.
To share a photo in Lightroom, click the share icon when your edit is finished. You’ll then have access to size and destination options. Now pick a size for your image. Once you’ve done this, you can decide which platform you’d like to publish your new picture on.
Manage Your Photos with MacKeeper’s Duplicates Finder
It’s always wise to stay organized with your pictures. Luckily, MacKeeper gives such a unique opportunity for Mac users with Duplicates Finder. It brings all your files in order, especially those in the Photo Library. Then you won’t have to worry about finding that amazing photo from your birthday.
Here’s how you manage your photos with MacKeeper’s Duplicates Finder:
- Download MacKeeper and open it
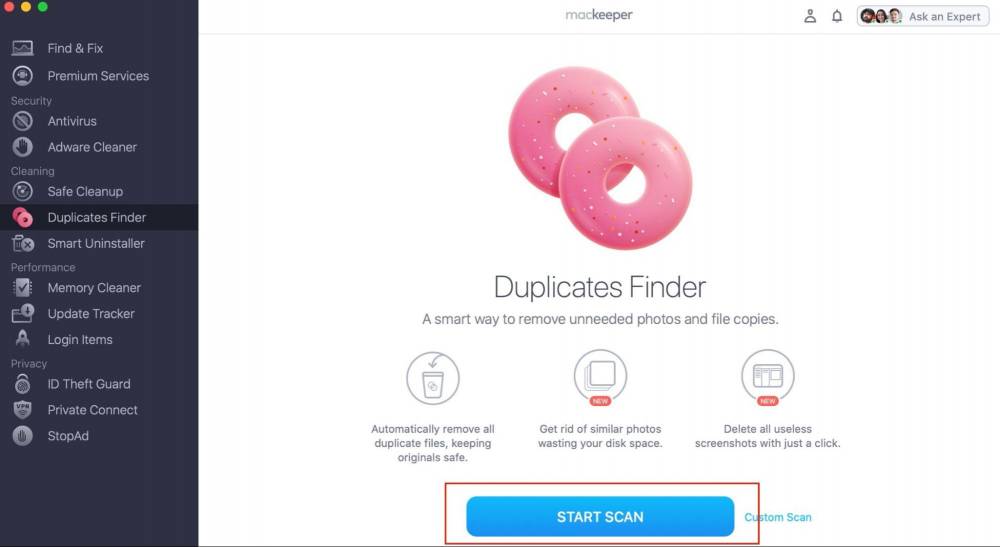
- Click Duplicates Finder and select Start Scan
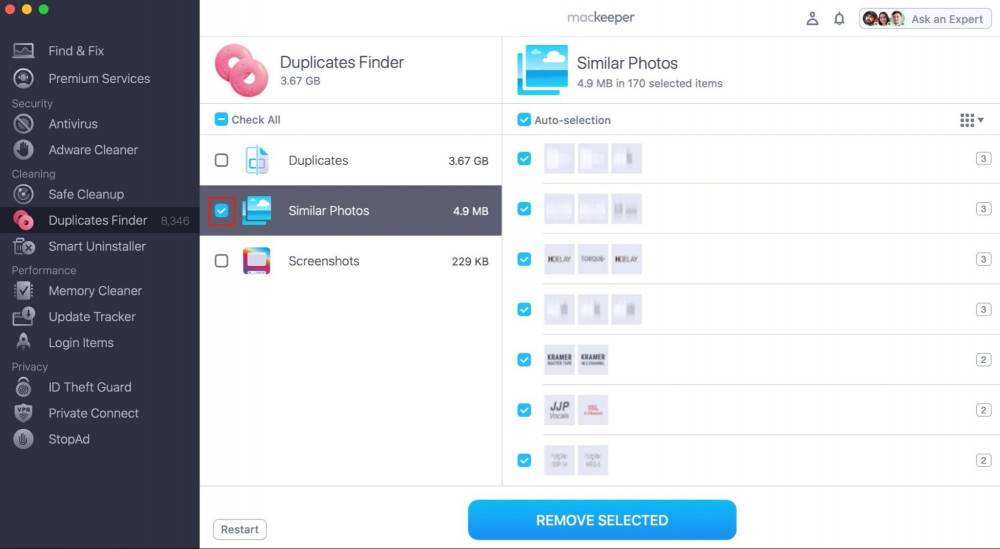
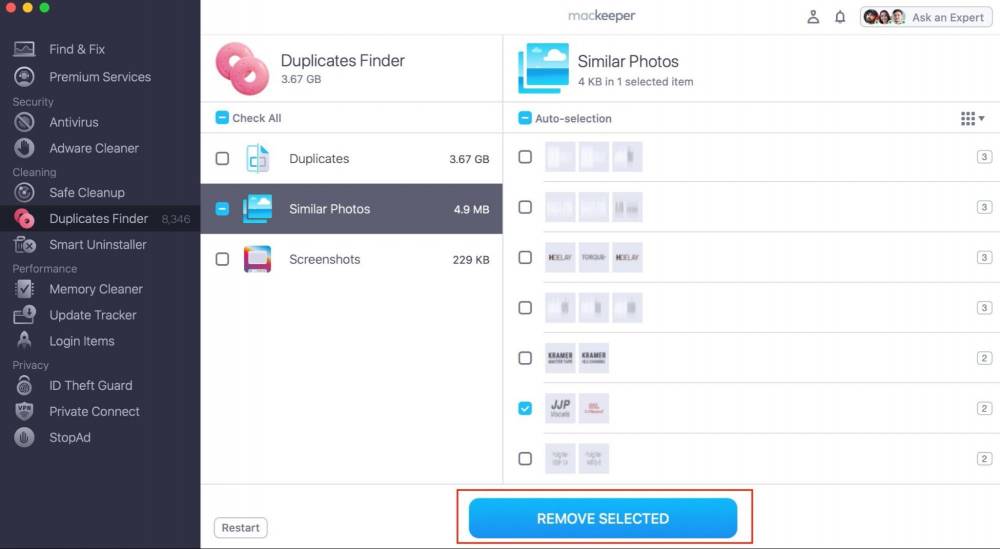
- Click on the Similar Photos tab and select which images you wish to delete
- Alternatively, if you wish to delete all similar photos, select the small box to the left of the Similar Photos tab
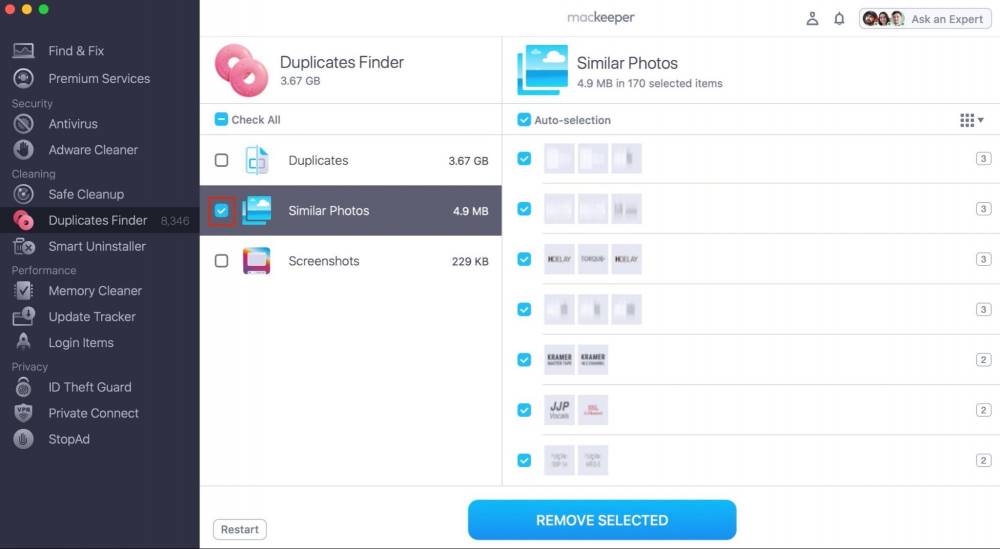
- Click Remove Selected to erase the photos
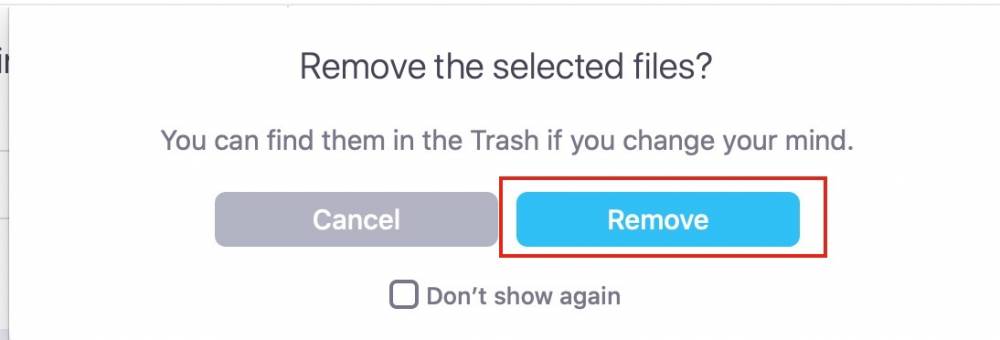
- Select Remove
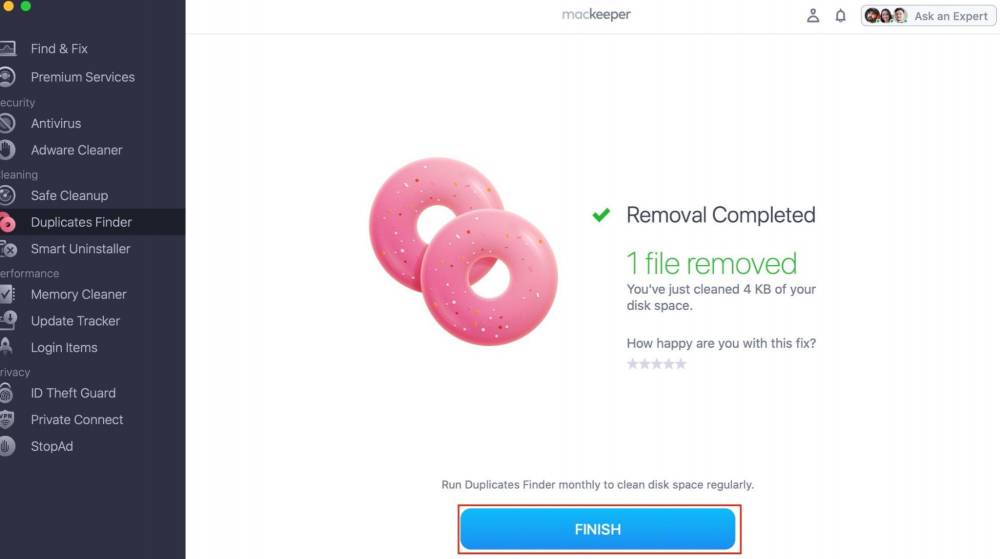
- Now your photos are erased, select Finish to end the process.
So, which one is best – Snapseed or Lightroom?
After comparing the two apps, now you understand the difference between Snapseed and Lightroom for photo editing, and which one is more suited for your needs.
Snapseed is ideal if you’re looking for a free user-friendly app that allows you to edit on the go. Their minimal UI makes interaction as easy as it could be for a photo editing app. It gives the user a friendly introduction to photography.
On the other hand, if you’re serious about editing and desire the full package, Lightroom has the whole shebang. Available on desktop and mobile, professionals get the most out of it, as they can deal with large workloads on-the-go.
Although Lightroom comes with a price tag, it's more than worth the money for the software it provides. We strongly advise you to make the switch when you’re ready.
If you’re into editing videos or wish to, why don’t you check out the top 11 free video editing software for Macs now?
Content Manager
A content lover who aims at telling MacUpdate’s story to the rest of the IT world. Ready to love Apple apps with me?


